I got the idea from this months January issue of Martha Stewart I have bunches and bunches (maybe even whole storage units) of fabric scraps. After making all those super cute Bee Valentines Cards I remember that I had some bee fabric and went to work making some of these envelopes to go with them. Along the way I took the time to photograph the whole thing for your viewing pleasure (you’re welcome).
So, here’s what you need:
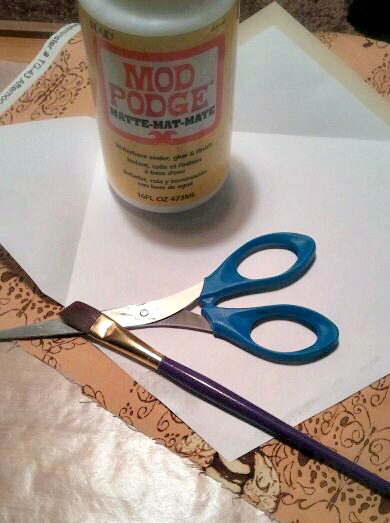
A paper envelope (any size you like)
A paint brush
Modge Podge or other decoupage finish
Fabric scraps slightly larger than your envelope
Wax Paper
Scissors
Not pictured:
Skirt hanger or cloths pins
The glass of wine needed for all crafting projects.
Use wax paper to protect your work surface and with the paint brush coat the top side of your fabric with a thin layer of your decoupage finish and hang to dry. Let dry at least one hour. I let mine dry overnight. Once the first side is dry, coat the other side with decoupage finish and dry again. At the end of this process you should have a very firm piece of fabric and a nice dent in your bottle of wine. (I may, or may not have need to open a new bottle.)
Open your paper envelope flat and place on top of your fabric. If you’re not sure of your cutting skills (or you’ve had too much wine) I suggest tracing the envelope with a pencil, and then cut out the shape.
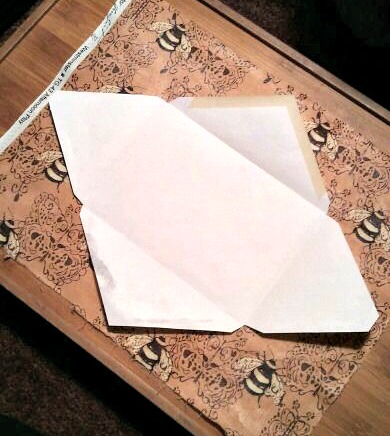
Once you have your envelope cut out, fold the fabric along the lines of your paper envelope.
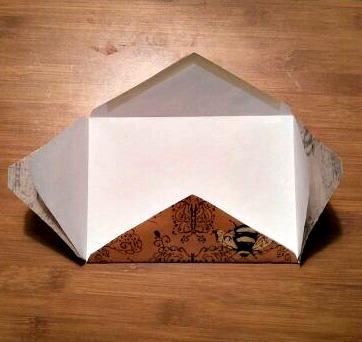
Inert a piece of wax paper and use your decoupage finish to seal the edges – if you forget this step, like I did on the first try – you’ll glue your envelope shut.
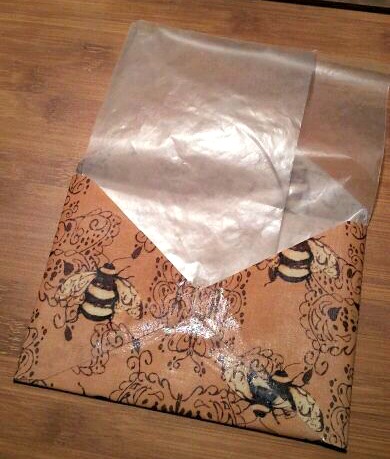
Once the finish is dry, about an hour, or another glass of wine later, you can remove the wax paper and viola! Lovely re-usable fabric envelopes! Pair them with hand made cards or other fun gifts.
XOXO,
Idyllwild


I’m sooo gonna make me some envelopes, and follow your instructions. Aspecially the drinking wine part.
LikeLike
LOL, a good Malbec goes well with this project! Happy crafting!
LikeLike
and I made some. great wine.
hope it´s ok I link to your blogg from my blogg http://www.rebelbelow.com
LikeLike
I LOVE that you linked back to us! Your envelopes look super cute btw!
LikeLike
I have plenty of fabric scraps too, great idea
LikeLike
they turn out soooo cute. Have fun!
LikeLike